Photoshop Guides
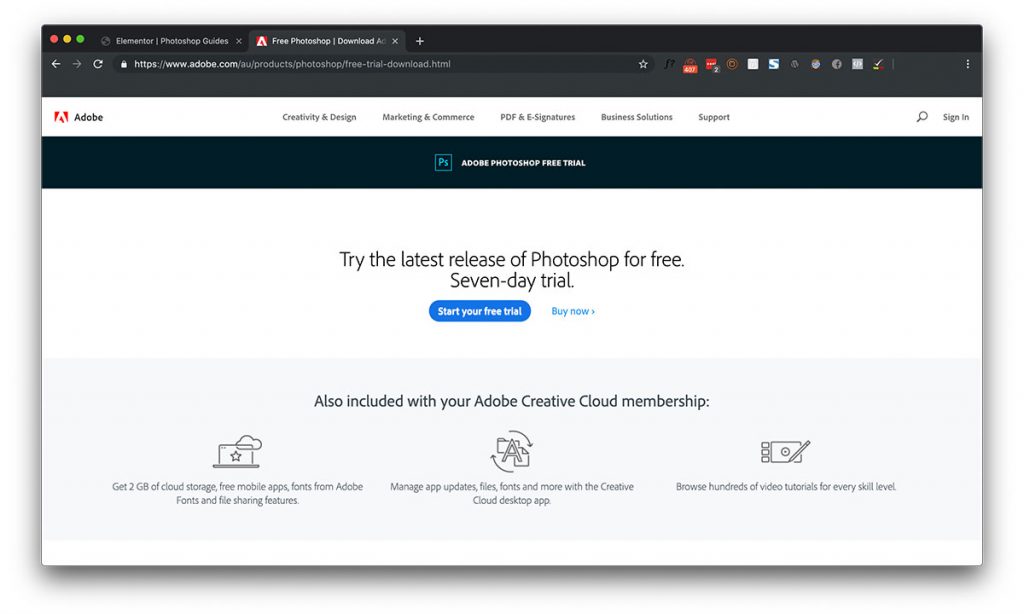
1) Install Photoshop
To be able to edit your doc, you’ll first need to get a copy of Adobe’s photoshop. They offer a free seven day trial if you haven’t had it already. This can be found here:
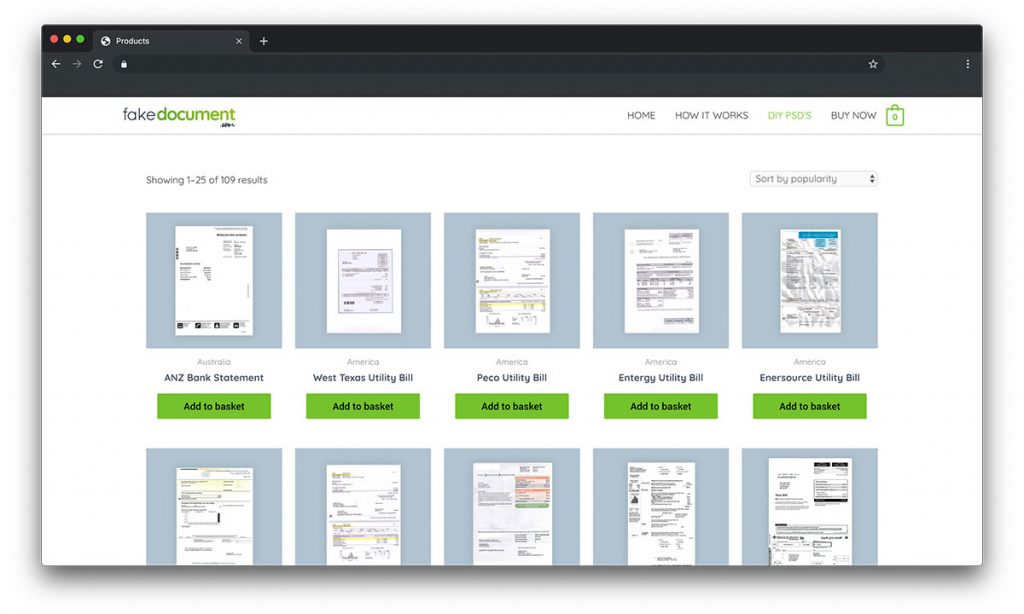
2) Purchase Your Doc
Once you’ve downloaded and installed photoshop – you’re ready to purchase your replacement doc. You can view our current range of editable PSD files here:
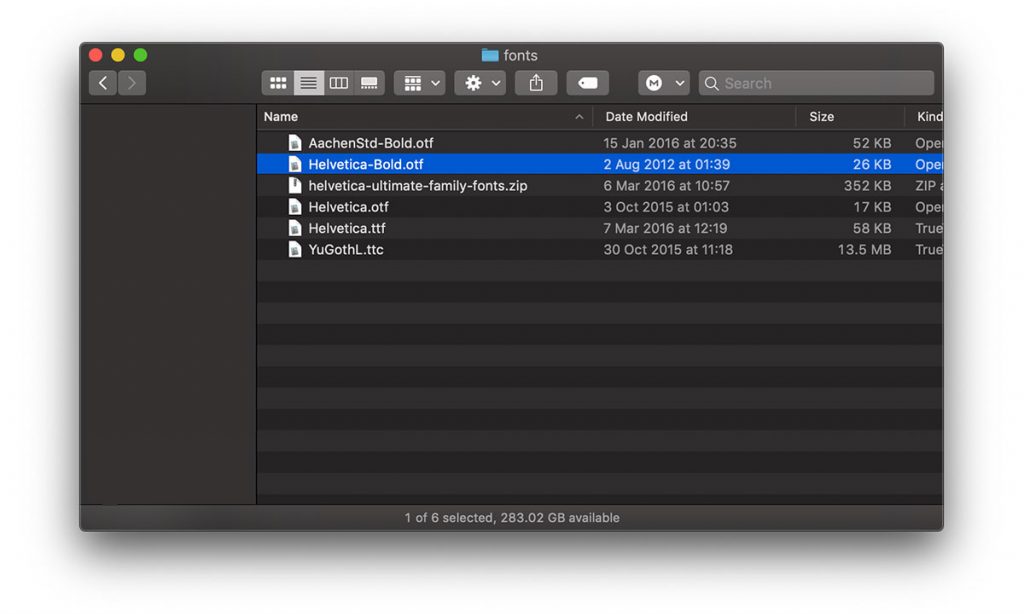
3) Install The Fonts
Many of the documents we supply don’t require custom installed fonts (because they already come with your computer as standard) – however, a fair few of them have a folder of fonts. You’ll first need to install these. Simply open the folder called ‘font’s (or similar) and double click on the fonts. You’ll be prompted with a similar looking window that will guide you through installing the fonts.
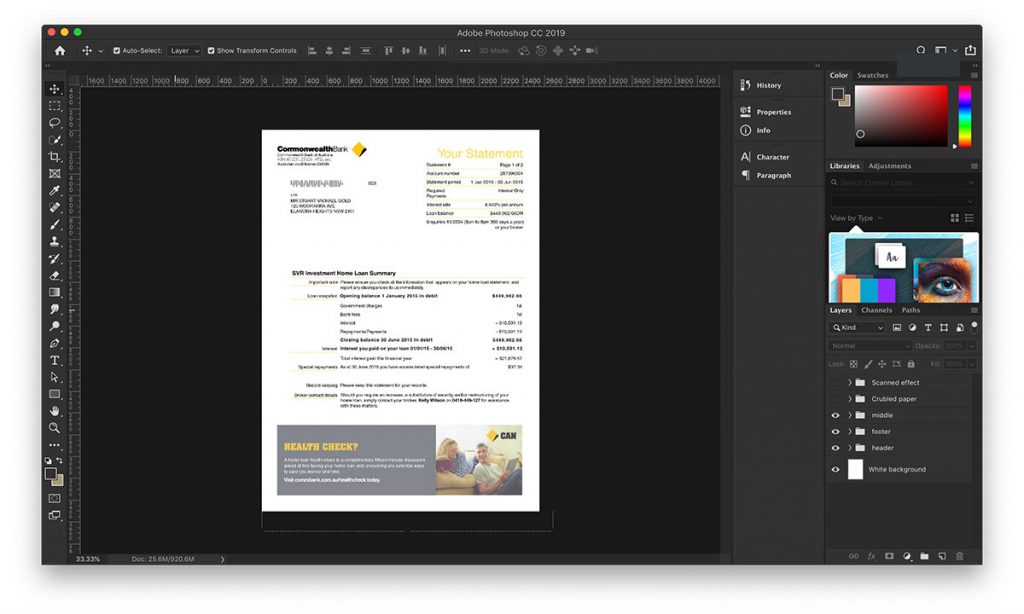
4) Open the PSD
Now you’ve got any font’s and photoshop installed, you’re ready to open up the document and get to work. Simply double click on the .psd file and wait for photoshop to open.
5) Edit
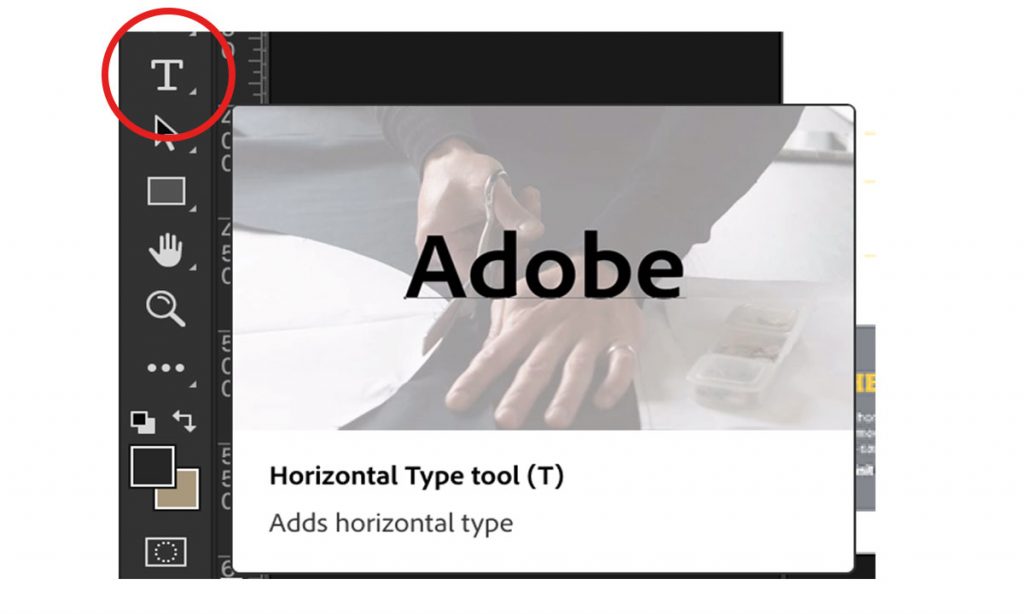
The easiest way to edit text on the document is to press the ‘T’ button on your keyboard. This will switch to the ‘type’ tool. Now, you can hover over the piece of text you wish to edit and once you see the cursor change to the familiar typing cursor, click on it and it will let you edit.
6) Crumple Effect (Optional)
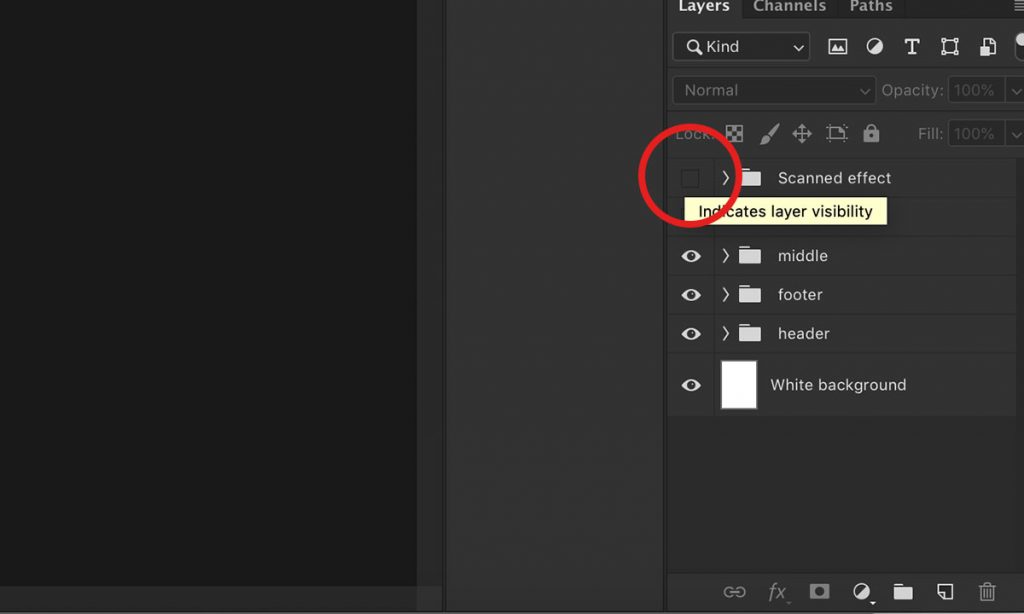
To make your doc seem more realistic, we have two ‘crumple’ layers you can enable to give your doc that natural look. To turn it on / off, simply click the little eye icon (circled)


